COATING PROCESS
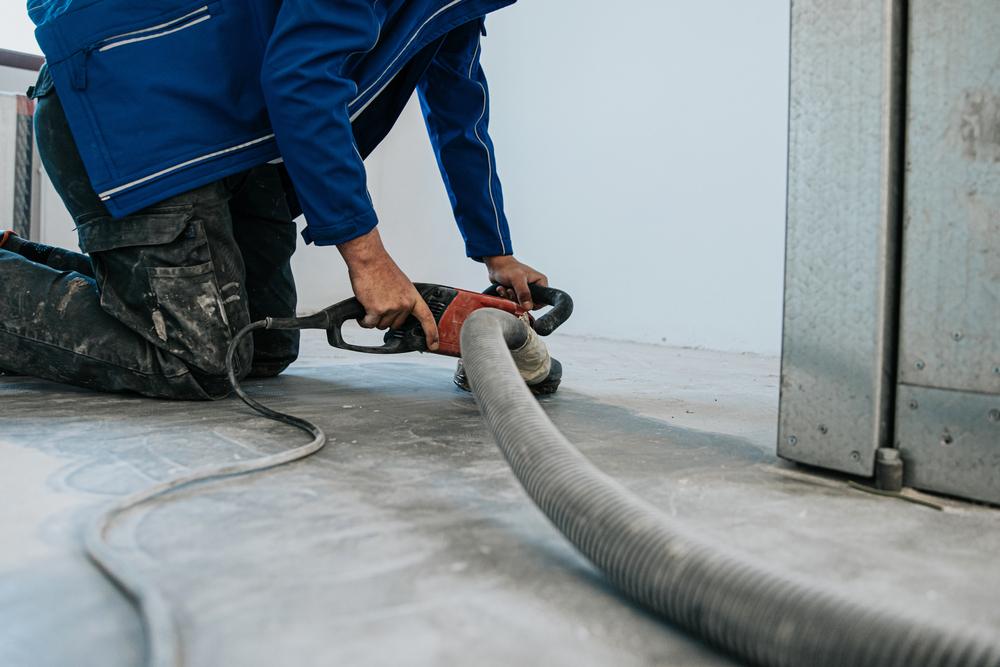
- We begin by using a diamond-bit Lavina grinder and hand grinders to remove about 1/16th of an inch from the concrete surface, clearing away the weak latent layer to ensure a flawless coating bond. To control dust, our equipment is equipped with high-powered vacuums, keeping the workspace clean and safe.
- We repair any pits or cracks in your concrete surface to ensure a smooth, even foundation before applying the basecoat.
- Now the coating process begins by applying a self-priming polyurea basecoat to the properly prepared concrete surface.
- Once the basecoat is applied, we immediately hand-broadcast the decorative flake of your choice to ensure even, consistent coverage.
- After allowing the flake to cure, we carefully scrape and vacuum away any loose or vertical flakes to create a smooth, even surface before the final step.
- The final step is applying a UV-stable polyaspartic topcoat. This protective layer locks in the flake, enhances the color depth, and adds long-lasting durability.
POLISH PROCESS
We begin by grinding the surface of your existing floor using high-grit polishing tools, followed by a thorough vacuuming to remove all dust and debris. Then we apply a premium clear coat sealant that dries to the touch in just 7–9 hours. Light foot traffic is safe after 24 hours, with full curing completed within 3 to 5 days.